Welcome to the Tradelocks guide for picking and decoding the Ford Jaguar HU101 lock using the Genuine Lishi pick and decoder Vol.2.
Picking the HU101 Lock on a Transit Custom
Most but not all Ford HU101 locks will pick open in the anti-clockwise direction if seeking to pick open to gain entry. If picking to decode, then either direction can be taken to pick open and decode to cut a key.
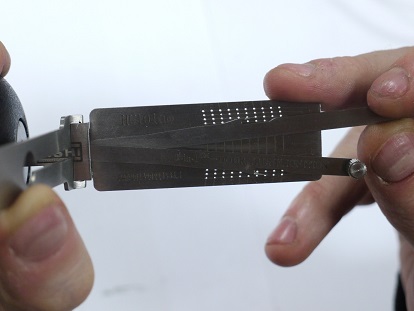
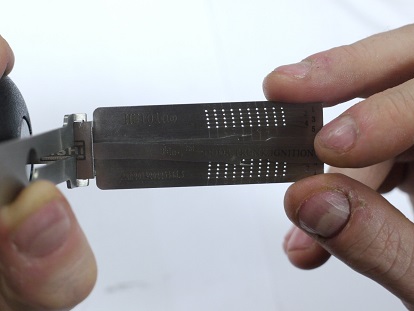
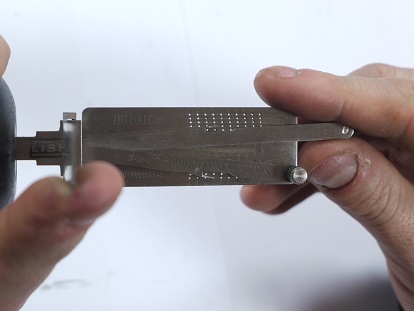
With twin lift tools, it is essential you centre the two lifting arms prior to insertion and keep them centred until fully inserted. Once inserted, you can confirm full insertion by checking a spring and a wafer can be felt in positions one and 10, if so, then you are correctly inserted.
As stated earlier, the exceptions are the 2012 Ford Kuga and some USA models that only contain seven cuts. To confirm full insertion, a wafer should be felt in positions three to nine only, with no wafer in positions one, two and 10. Also, in the new 2016 Mondeo and onwards, wafers will be felt in positions two to 10 or two to nine. However, we have the traditional and more common 10-cut, so a wafer should be felt in position one and 10 to confirm full insertion.
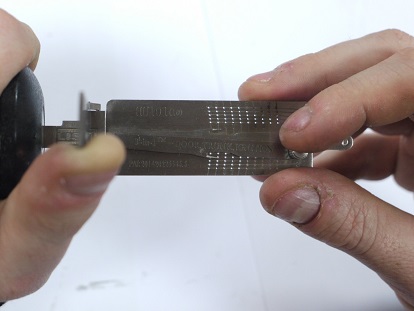
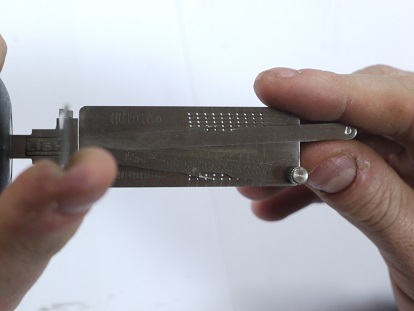
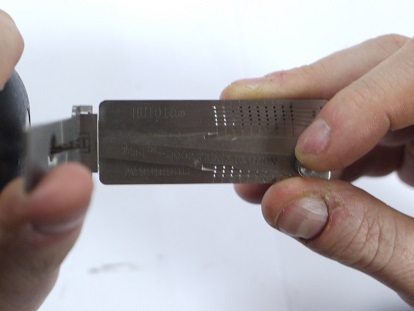
Once fully inserted, use a LIGHT tension (the lighter the better) applied in the opening direction to the tension handle. Only a very light tension is required, even the slightest of excessive tension hampers the picking process and leads to over-lifting and wear damage to the pick tips that will make decodes inaccurate.
We must then move the lifting arm’s arrow to each numbered line in turn, gently attempt to lift each wafer by 1/2mm, so only a little. If the wafer has any movement at all, then leave it alone and move to the next, we are searching only for solid binding wafers. Each time we find a solid binding wafer, we pick it until it has movement. Once it has movement again, we leave it alone and find the next binding wafer. Once all binding wafers are picked, then the lock will open.
As explained in another guide, there is a picking sequence that will help if you’re struggling, but on this lock, I prefer to navigate one side then the other. If you’re struggling, then use the following sequence (if picking the lock in a clockwise direction):
Pick positions one, five, nine, four and eight first in whatever order they bind first. When these are set, a slight plug movement will be felt. Then pick positions two, three, six, seven and 10 in whatever order they bind, and the lock will open.
If you’re picking the lock in an anti-clockwise direction, then pick positions two, three, six, seven and 10 first. When the plug movement is felt and confirms it’s set, then pick positions one, five, nine, four and eight until open.
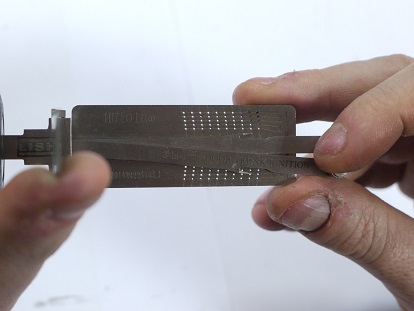
With your tool correctly inserted and a light tension applied, we are ready to begin and navigate the lock to pick just the solid binding wafers:
Position four is first to bind and pick
Position nine is next to bind and pick
Position two is next to bind and pick
Position five is next to bind and pick
Position seven is next to bind and pick
Position two binds and picks again
Position three is next to bind and pick
Position six is next to bind and pick
Position 10 is next to bind and pick
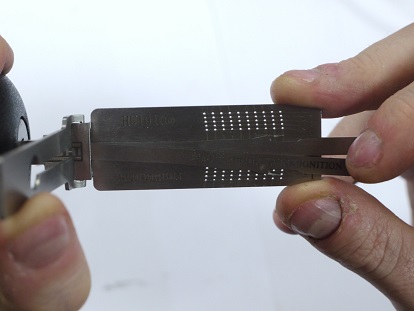
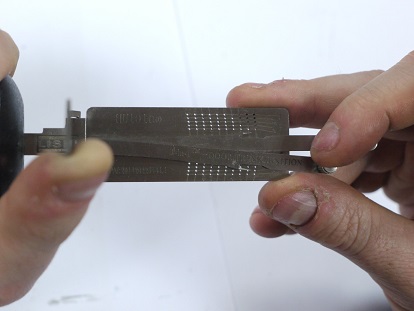
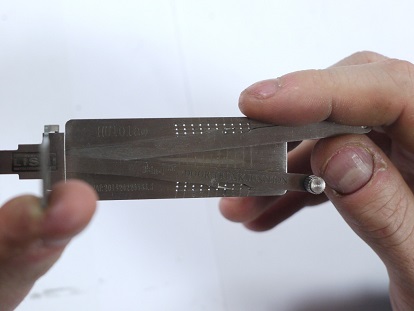
Position one is the last to bind and pick, and the lock opens:
We must now hold our lock in the open position to decode it. What is significant is we did not need to pick position number eight, which confirms that this position is a number five key cut and already preset by the tool.
Check Vol.1 of the Ford Jaguar HU101 lock guide to find out more.
For more information visit Genuine Lishi Guide Series Page.