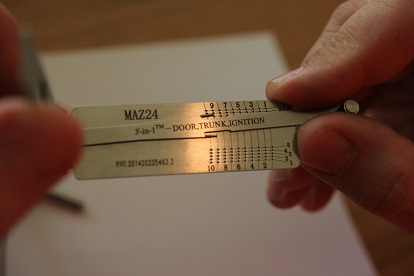
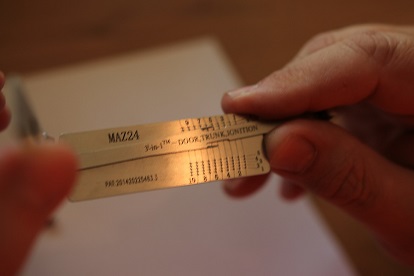
Picking the MAZ24R Door Lock
We must begin by flushing the lock well and cleaning out with your chosen lubricant. The lock responds well in the clockwise direction to picking the odd position wafers first and the even position wafers after the odds are set, but this isn’t always the case.
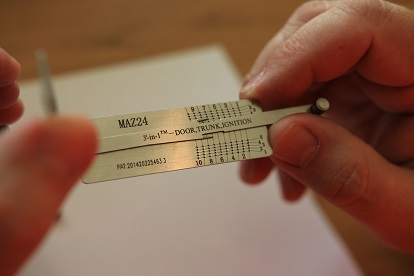
We must begin by centring our lift arm on the tool and then fully inserting it into the lock’s keyway. Full insertion can be confirmed by feeling a wafer bouncing in both positions three and 10. We would then apply a medium tension to the tool’s tension handle in the opening direction. We then guide the lifting arm arrow to each position in turn and try to lift each position 1/2mm to see if the wafer has movement or if it is binding solid.
If a wafer has any movement at all, we leave it well alone. We are only interested in solid binding wafers, each time we find a solid binding wafer, we must pick it 1mm at a time until it has movement again and a tight bounce. This wafer will then be picked, and we move to the next. When all binding wafers are picked, the lock will open.
So with our tool fully inserted and a medium tension applied, we are ready to begin picking the lock by finding and picking the solid binding wafers.
Position nine is first to bind and pick
Position seven is next to bind and pick

Position five is next to bind and pick
Position three is next to bind and pick
Position ten is next to bind and pick
Position five binds and picks again, and the lock opens
What is significant is that we did not need to pick positions four, six and eight, which confirms to us that these are all number five key cuts as they didn’t need to be picked. We can now hold the lock in the picked open position in order to decode it.